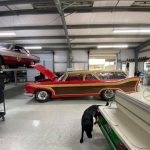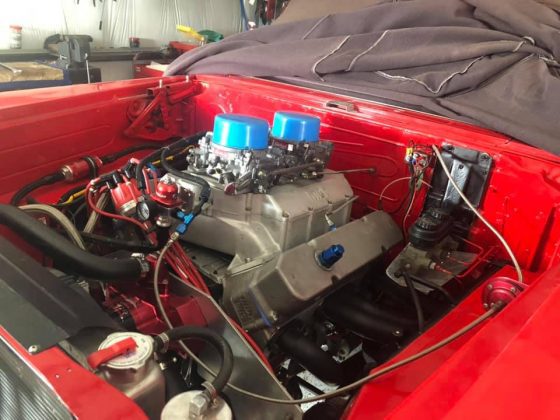
Because I rave a 60 Plymouth wagon, there are no off the shelf headers, and they have to be custom made. Mine are 22.5″ tubes come real close to the spark plug wires, and there were various tie wraps pulling the wires away from the tubes. I decided to try to improve both the look and function with R&M Valve Cover Looms and Taylor 409 20.4mm plug wires. 10.4mm wires are just more heat insulation around the same thin spiral core wire as a 8.8mm, which is the conductor between distributor and plug.
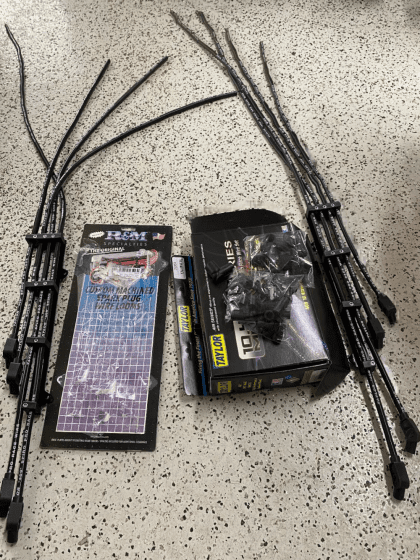
Since this was the first time I’d done cut to fit on a Mopar RB, I made a few mistakes. The point of this article is to hopefully save a couple of people from the same mistakes. A you can see in the above photo, I split the wires into one of each length for each side’s loom. That was my first mistake, which I’ll get into later for those who don’t already know why.
The brackets have a nut and washer at the bottom of each of the looms, which are fastened to the brackets. When mounted onto the valve cover there is no room for your fingers to attach the plug side boot to the plug and to screw the nut holding the loom onto to bracket. I attached the looms to the bracket, and the bracket to the valve cover on passenger side, and then measured/marked how far the wire should go into the loom. I then mounted the wires in the loom and tightened the nuts to clamp the wires in place. That was mistake number two, which I will also clarify shortly. I then duplicated the driver’s side as the heads are symmetric. That is also part of mistake one, as had I also measured that side, I would have seen the mistake before the point of no return.
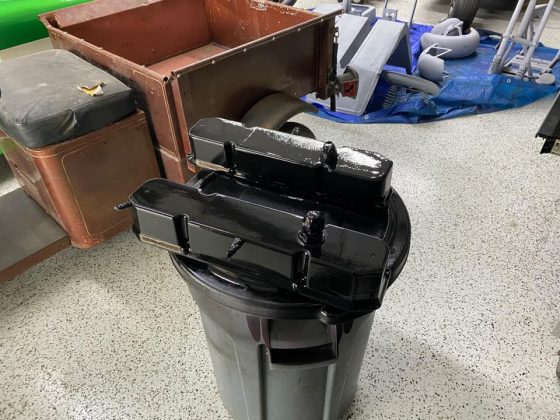
The bracket/looms come with four 1″ spacers, which are slid over the two mounting valve cover studs (one each side) before you mount the brackets. That raises the brackets an inch above the valve cover’s flange. I pulled the studs out that would have to be longer, to measure them. They we’re 1.75″ inches tall, so I’d figured I’d need 2.75″ inch tall studs or bolts. Kinda mistake number three. I thought the best plan would be SS socket-head screws, but I couldn’t find anything near that length in 1/4″-20 thread at my shop. I had some 1/4″-20 all thread but an inch short of making all four. I checked to see if Summit had studs that long, and all they had was 3.5″ that had a June 6th delivery date. I checked Amazon, and they had 1/4-20X 3.0″ SS hex-head bolts, but were $8.99 each and no realistic ship date. It was too late to go to Lowes or Fastenall, which is a 20 mile drive from my shop in the sticks, so I made the three studs I could. I also washed, scuffed, wiped with solvent, masked the fittings and laid down five coats (to smoothen out the casting texture as much as five coats could) of gloss black paint on valve covers before calling it a night.
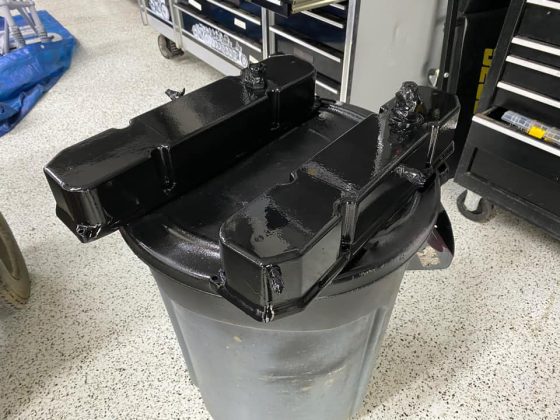
In the morning, I ran to Lowes but they had no SS 1/4-20 bolts over 1.5″. I bought the all-thread instead. I figured that there was going to be a day when I’d drop one of those 1″ spacers and not find it in the grass, so I figured I’d buy a couple of spares. They also had some 1.5″, so I bought the last four of them also, in case that raised the bracket to an even better height. I swung by Fastenall to see it the had 2.75″ SS Socket-head screws, and they had gone out of business.
Back at the shop, I decided this was the best time to replace the plugs, as they had almost 100 passes on them (last changed January 2020) and they would be impossible to change with the brackets leaving no room for my hands. I yanked them out and inspected, and then went to get a fresh eight AR3932s, but only found four. That’s a mystery as I always order in eights. I called O’Reillys and they had zero in stock, and wouldn’t be able to deliver until 3pm.
I gapped and put the four I had in the passenger side head, pushed on the plug wires, mounted the brackets, and when I tried to get the nuts on – I found that the bracket’s angle made it too hard to get the nuts on by finger. I got one on by use of a magnet, but was struggling with the other. I figured I’d have less patience at the track and needed to fix it now. It was also a good time to see if the 1.5″ spacers would be a better height, which they were. I took the 1.75″ of original stud, plus 1.5″ of the spacer, and added another .5″ for more finger clearance – and made four 3.75″ studs from the all thread. I beveled the tops slightly to drop fewer nuts, and filed the bottom smooth so there wouldn’t any junk in the stud hole.
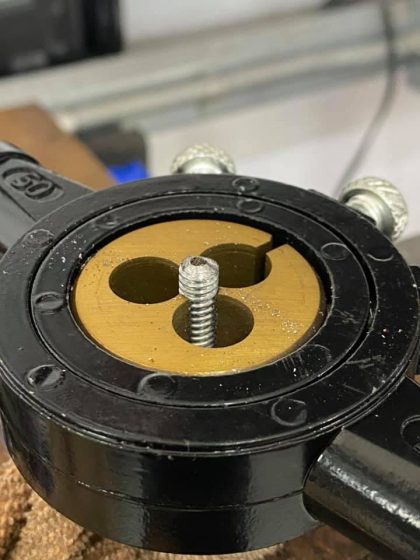
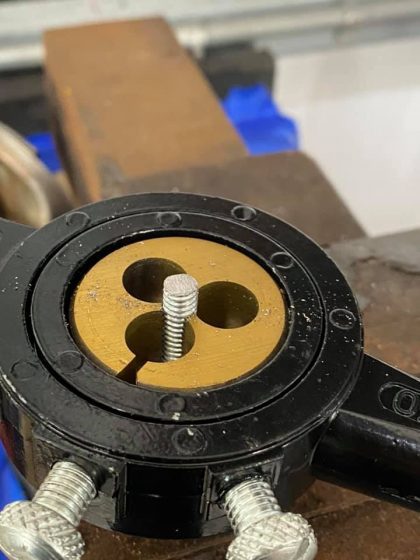
I install the new studs and remounted the brackets – but found that a couple wires were still too close to the 2.5″ header tubes. I had Taylor plug boot insulators on my old wires (which weren’t that old), so I slid them off. Mistake #2 was clamping wires in the looms before deciding I needed boot protectors. I had to loosen all of the clamps to slide wires out, so I could slide protectors up the unfinished end, then clamp back into the looms, push onto the plugs, and secure onto the valve covers. I then cut and finished the distributor cap ends.
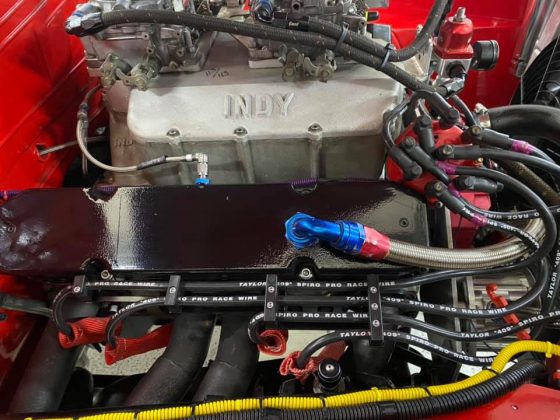
Moving over to the Driver’s side, I put the boot protectors on, the plugs in, and mounted the bracket to valve covers. When I loomed the Wires over to the distributor, I found that 3 of the wires don’t have the slack I wanted, and #7 is an inch too short. Mistake #1. I had only done cut to fit wires on Mopar small blocks and Fords, which locate the distributor in the middle on the block. A Mopar BB has the distributor on the passenger side if the car, and the Long wires all go to the driver’s side and not split between the sides.
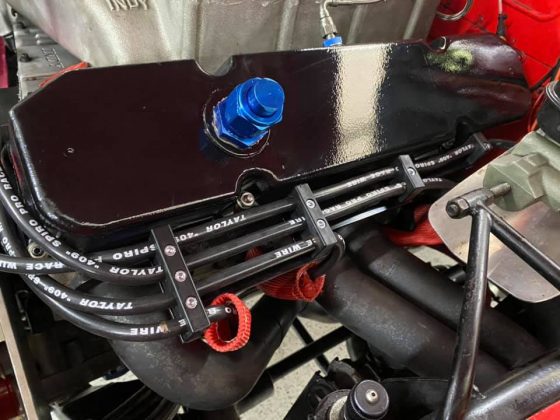
The fix for me isn’t as big a deal, because I have another car to do. The Thug. I ordered a 30′ spool of 10.4mm 409 wire and a 100pk of distributor end boots. I already have dozens of the plug ends in both straight and 90 degree. I also ordered a bracket/loom. They’ve already arrived, although I’m at the lake for weekend. I’ll remake the Driver’s Side and use the ones coming off for #s 1, 2, 4 and 6 on the Thug.
That’s my story and I’m sticking to it. I hope fessing up to my mistakes keep others from making the same ones.


